Tiling a Kitchen Floor for Beginners
Tiling a Kitchen Floor for Beginners

Glossy, modern, stylish, durable, long-lasting and easy to clean - tilling is an ideal and practical flooring solution for busy spaces like your kitchen that are prone to spills, wetness, messes and high foot traffic. While tiles are a great option for your kitchen flooring, when it comes to tiling a kitchen floor, it can be a daunting task, especially for beginners with no prior experience in tiling.
To help you execute a kitchen floor tiling job well done, we’re sharing a simple guide with tips and techniques on how to tile a kitchen floor, so you can achieve professional-looking results you can be proud of.


Tips and Techniques for Tiling for Beginners
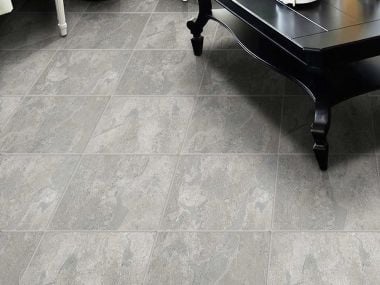
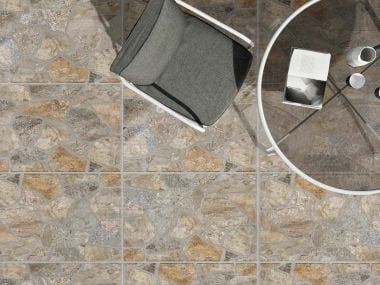
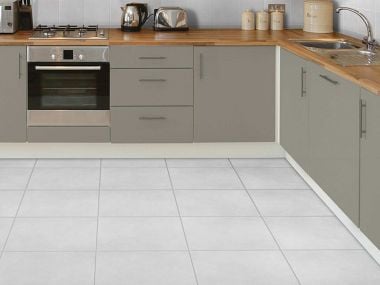
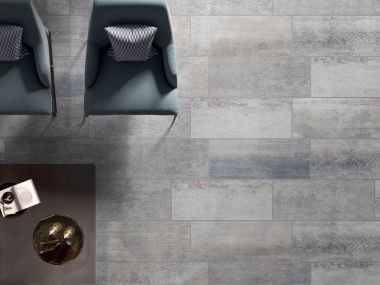
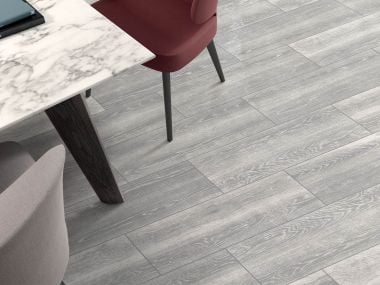
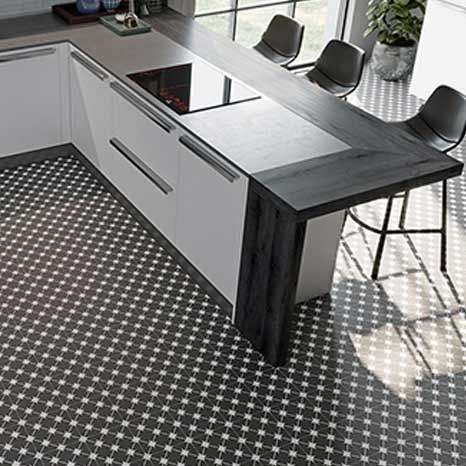
Aside from the wide assortment of different types of tiles available that offer users a variety of colours, designs and textures to choose from, opting for tiles for your kitchen floors offers a number of other benefits. Tiles are a practical choice for kitchen floors thanks to the scratch and water-resistant properties of certain types. This ensures they don’t absorb water and spills from sinks, dishwashers or anywhere else, helping to keep your tiles from getting damaged. Tiles are durable too, meaning they can endure the high foot traffic and constant activity common in kitchens, as well as resist scratches, stains and moisture.
Whether you want to upgrade your kitchen's appearance or simply try something new, DIY tiling offers numerous benefits like saving you money on labour costs and equipping you with new skills you can be proud of. To ensure your beginner tiling job goes well and delivers the results you desire, here’s how to tile your kitchen floor and execute a flawless job.
Planning and Preparation
- Measure the floor area: First, measure the kitchen floor to determine the number of tiles you'll need to purchase. To calculate the number of tiles you’ll need without any hassle, use our tile calculator tool at CTM for quick and accurate calculations. It's recommended to buy an additional 10% of tiles to account for cuts and breakages.
- Preparing the floor surface: Before you can lay your new tiles, the floor surface needs to be clean, dry and level. So remove any existing flooring or debris and make sure the subfloor is level. If necessary, use a self-levelling compound to even out any low spots.
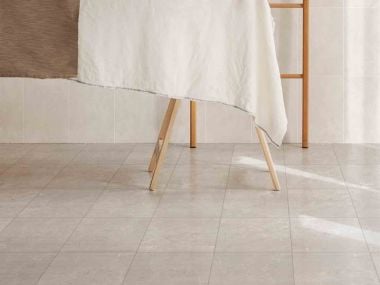
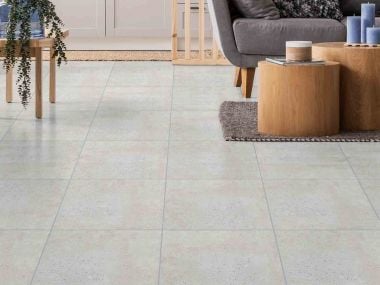
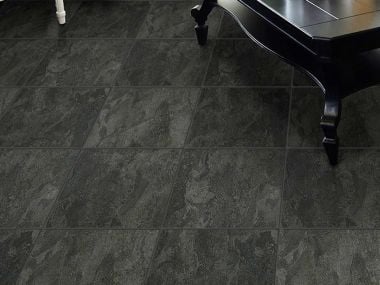
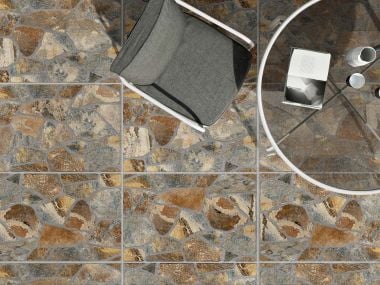
- Choose the right tiles: Selecting suitable tiles for your kitchen floors is essential. Porcelain and ceramic tiles are popular choices for kitchen flooring as they offer durability and water-resistant properties. To find the perfect fit for your kitchen floors, shop our comprehensive tile range at CTM today. We have an exceptional selection of the finest quality tiles available in an array of styles, colours and finishes, at affordable prices, to ensure you can easily elevate your kitchen floors with exquisite tiles.
- Gather the necessary tools and materials: When it comes to attempting kitchen floor tiling for beginners, there are several tools you’ll need to stock up on before you can get started. These include:
- Tile cutter: This is used to cut tiles to size. You can use either a manual cutter or an electric cutter.
- Notched trowel: This is used to spread and apply adhesive.
- Tile spacers: Spacers are used to create even spacing between tiles.
- Adhesive: Adhesive is used to adhere the tiles to the subfloor.
- Grout: This is used to fill the gaps between the tiles.
- Safety equipment: Safety glasses and gloves to wear when cutting tiles.
- Sealant: Sealant is used to seal the grout and protect the tiles from moisture.
Complete Your Kitchen
Browse our range of kitchen sinks and taps, and find the perfect design for your kitchen style.


Tiling Process
Now that your floor is prepped and ready, it's time to start tiling. Follow these steps:
- Measure and mark the centre: Use a chalk line to mark the centre of the kitchen floor. This reference point will help you start laying tiles accurately.
- Cut the tiles:Use your tile cutter to cut the tiles to the desired size and shape. Remember to wear safety goggles and gloves during this step.
- Dry lay the tiles:Before applying adhesive, dry lay the tiles to visualize their placement. Start from the centre point and work towards one wall at a time. Use tile spacers to maintain even spacing between the tiles.
- Apply adhesive: Once you are satisfied with the layout, apply adhesive to a small area of the subfloor using a notched trowel, starting at the centre of the room.
- Lay the tiles: Carefully lay the tiles onto the adhesive, pressing down firmly to ensure good adhesion. Use spacers to create even spacing between tiles. Continue laying tiles in small sections, applying adhesive as needed.
- Allow adhesive to dry:Once all tiles are in place, allow the adhesive to dry for the time recommended by the adhesive instructions.
- Apply grout: Once the adhesive is dry, remove the spacers and apply grout to the gaps between the tiles. Use a grout float to spread the grout evenly.
- Get rid of excess:Use a damp sponge to carefully remove any excess grout from the surface of the tiles.
- Allow grout to dry:Once the grout is applied and you’ve wiped off any excess, allow it to dry for the recommended amount of time.
- Seal the grout: Once the grout is dry, apply a sealant to the grout to protect it from moisture and stains.
By following these steps, you'll successfully tile your kitchen floor and create a stunning and functional focal point in your home. Just remember to take your time and follow our steps carefully. If you need a helping hand or want to save yourself time and effort, don’t hesitate to contact CTM and enquire about our tile installation services for newly tiled floors achieved effortlessly and executed professionally. Ask about our range of stunning wall tiles too to makeover your entire kitchen space.
Tackling tiling your kitchen floor for the first time can be intimidating. But with our tips and the right tools, you can tackle your tiling project with confidence and transform your kitchen into a functional and stylish space that impresses. Make sure you make CTM your first stop for quality tiles and professional services to make making over your kitchen easy.


Tile Your Kitchen
Find the perfect tile to round out your kitchen look!


Looking For Other Kitchen Products?


