Pro Grip Kilimanjaro Tile Adhesive - 20 Kg


Pro Grip Kilimanjaro Tile Adhesive - 20 Kg
![]()
Buy online with 4 interest-free payments.
-
 Confirm Stock Availability
 -
 When will I get it?
 -
 90 days hassle free returns
 -
 Buy online, collect in store
Buy Online and get next day delivery.
90% of online orders are delivered next day.
Click “Check Stock” and if available locally, buy online and we'll deliver the next day.
Buy Online and get 90 Day hassle free returns.
Experience no risk to you
Shop with assurance and peace of mind.
Enjoy easy return options at 74 stores nationwide.
Pay online or order by phone - from anywhere
Skip the queue & reserve your stock
Collect from over 70 stores nationwide
Fast & easy
Order your products online

Orders are normally ready within 3 hours*
Any queries? Call us 010 003 9987
*Should the product not be available at the selected store, one of our product experts will contact you and offer you a reasonable alternative.

PROGRIP KILIMANJARO ADHESIVE® is a specially formulated cement-based polymer-modified tile adhesive with improved workability, increased bond strength, and extended coverage.
The adhesive covers between 2.2 and 3.8 square metres depending on application.
PROGRIP KILIMANJARO ADHESIVE® was designed for installing the KILIMANJARO range of semi-vitrified tile, however, it is also suitable for fixing of ceramic, clay and cement tiles as well as natural stone tiles and mosaics onto all types of cement based surfaces as well as other pre-primed surfaces.
This product is suitable for application of tiles in permanently wet areas as well as in underwater conditions i.e. swimming pools and showers.
The price of this product may be more expensive in outlying stores due to transportation costs.
Product Specifications
| Brand | Pro Grip |
|---|---|
| Type | Adhesives |
| Coverage | 2.4m2 |
| Colour | Grey |
| Product Weight | 20 kg |

How To Install Tiles
- As with everything you buy, it is important to check that you are 100% happy with the product before you install. Please compare the product to the images you saw online, check the shades and colour of the tile before you start. If you are not on-site, get your tiler to send you an image of a dry layout to approve.
- When you are ready, make sure that surface is dry, clean, flat and firm. Do not tile on old floor coverings like vinyl tiles.
- Check screen, substrate and foundation are set for tiling.
- Make sure there are expansion joints in the screed.

- Tiles are a fashion item and as new tile designs come in, you may not get the same size and shade of tile as what you originally bought.
- Always buy 15% more meter squared of tiles than the size of the area you will be covering, as there will be offcuts when installing.
- Always keep a spare box or two of tiles, for future renovations and incidentals.

- Make sure you have read any brand-specific instructions, listed on your tile box before starting to tile.
- For Kilimanjaro tiles, for example, make sure you are following the extrusion lines on the back of the tile when laying your tiles
- Start tiling in the middle of the area.
- Make sure you’re using the correct adhesive for the application.
- Check screen, substrate and foundation are set for tiling.
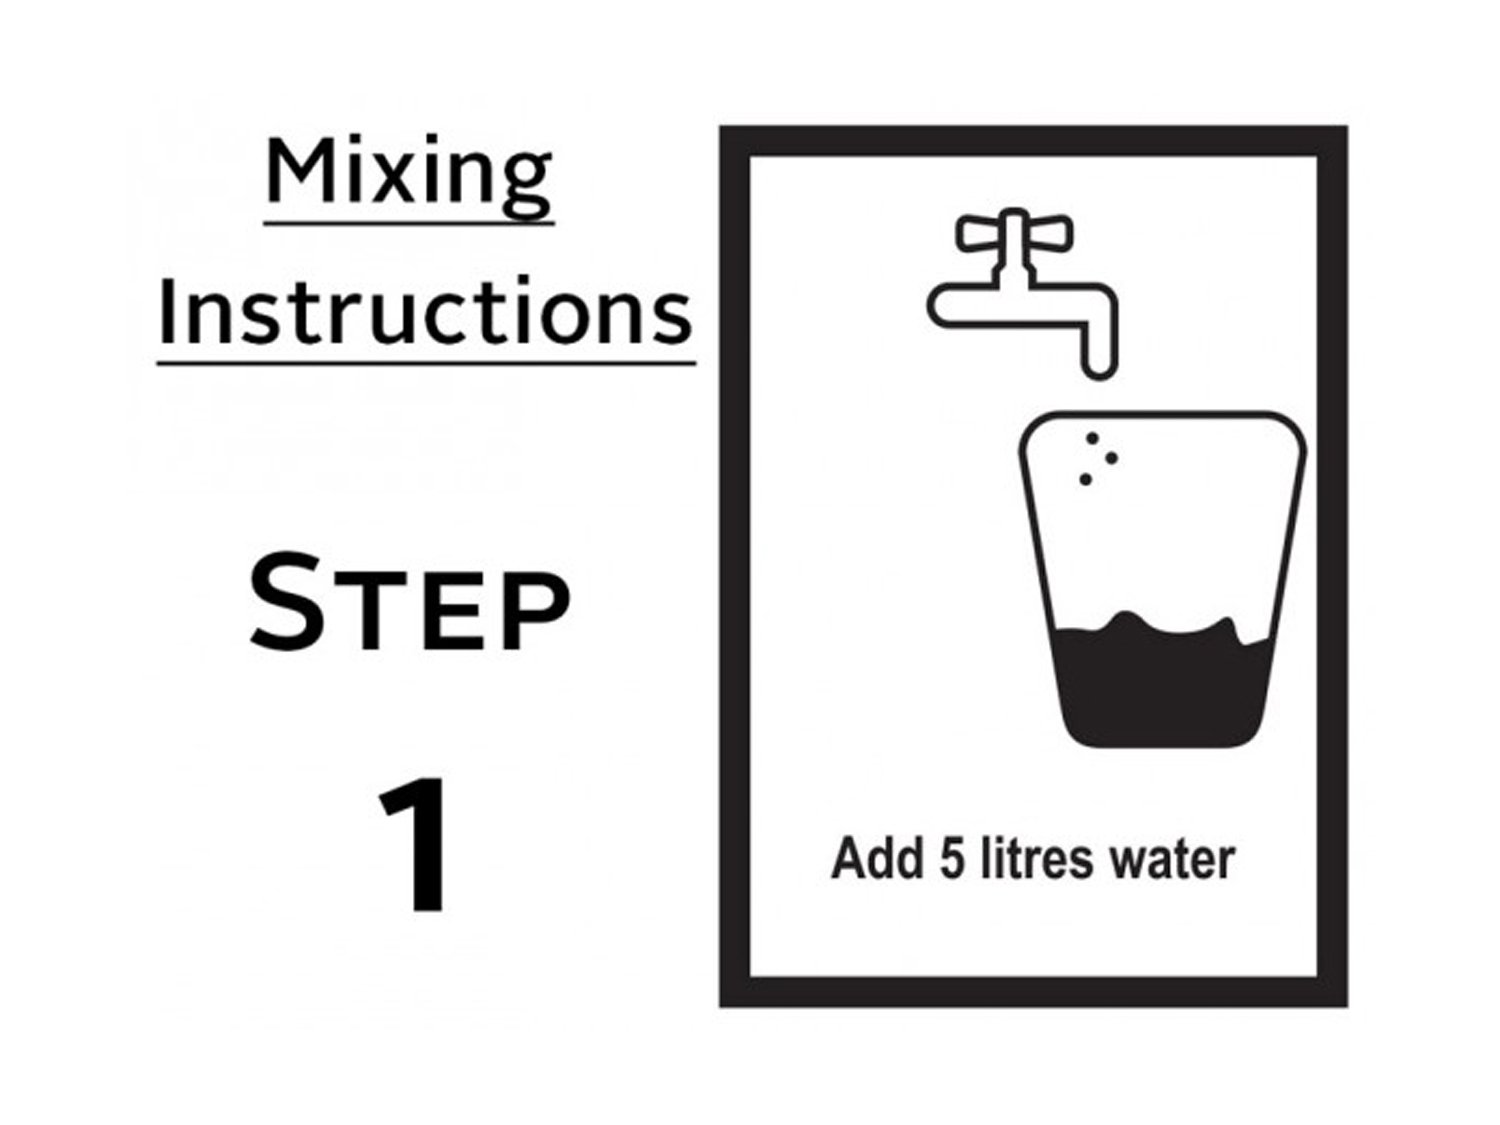
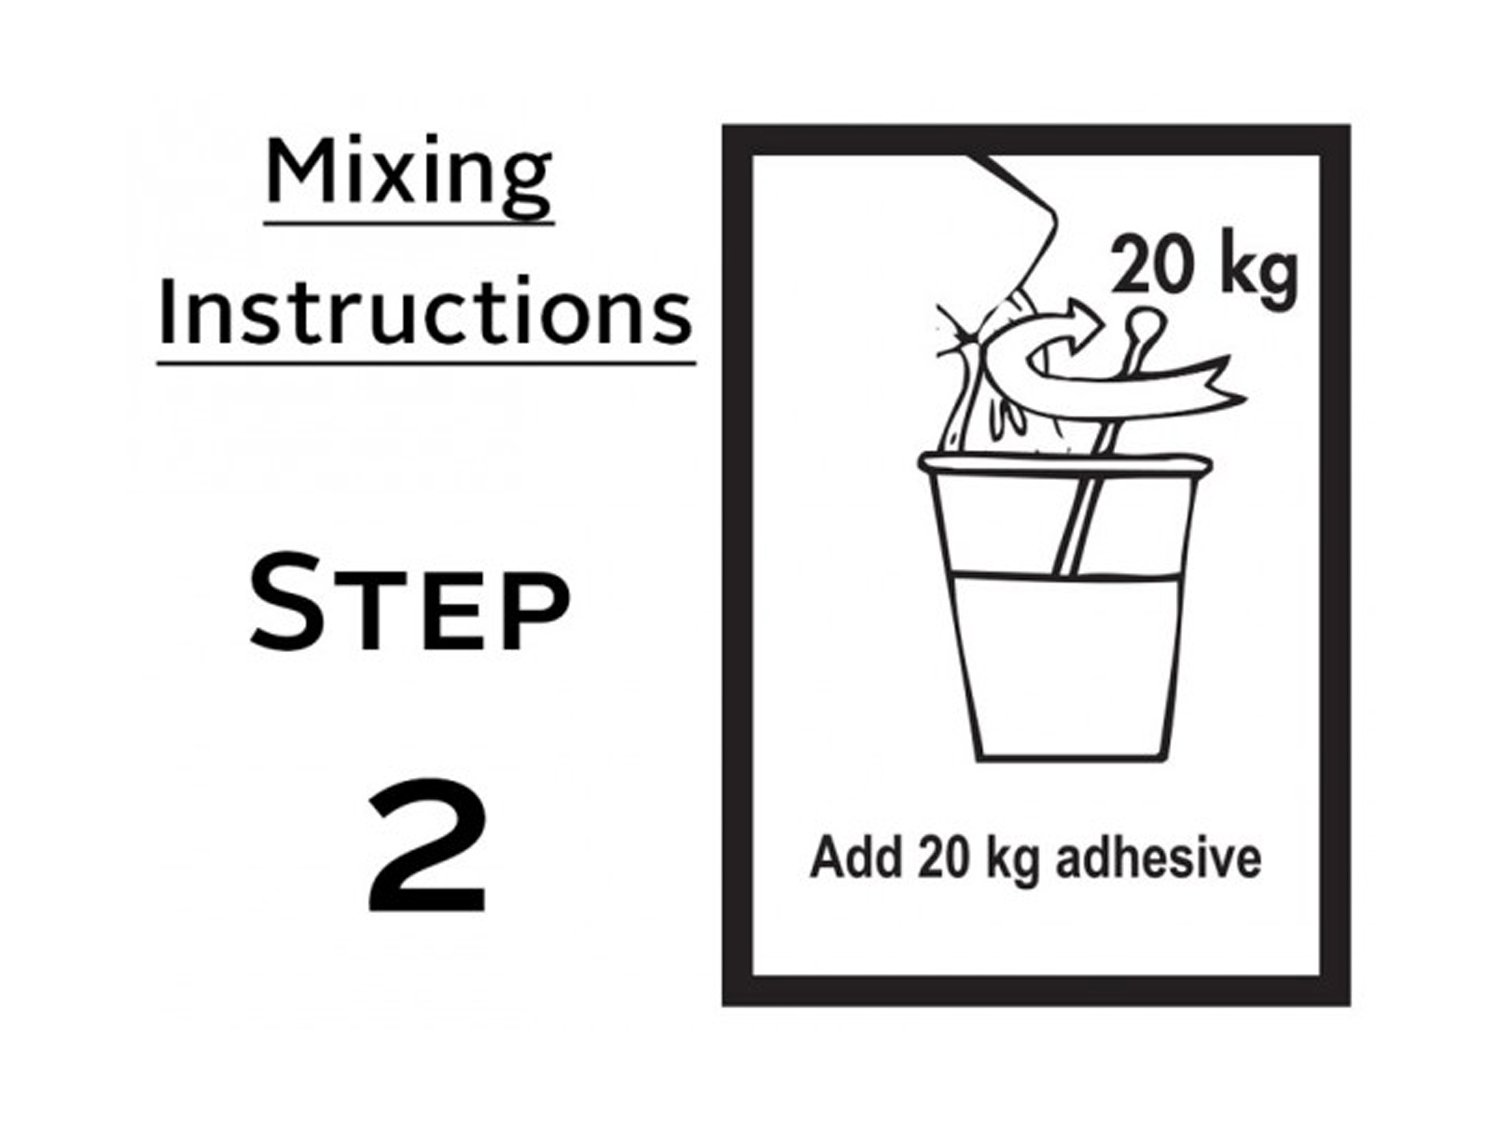
- Apply adhesive evenly using a notched trowel. (Apply 1m2 at a time)
- Only mix enough adhesive to use within 1 hour.
- Work over small areas so the adhesive does not dry.
- Scrape away excess adhesive, separating each tile from the next.
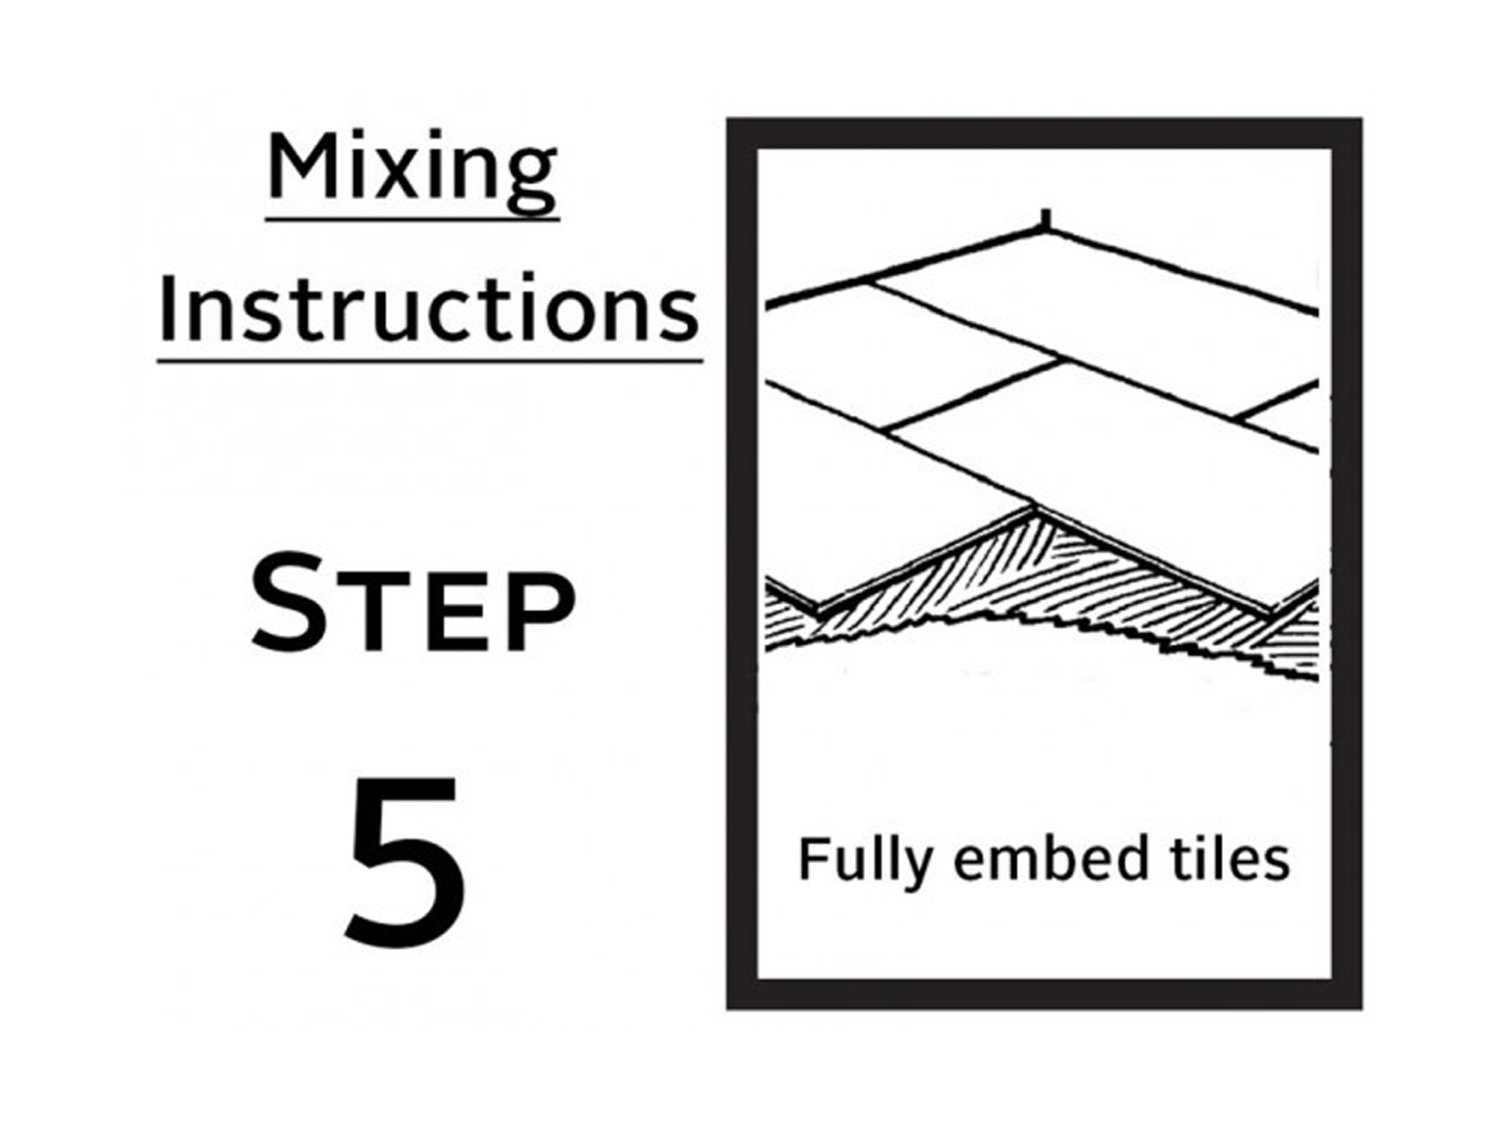
- All tiles must be fully embedded using a rubber mallet.

- Start off by creating building lines in your work space. This will allow you to achieve straight lines.
- Do not butt join tiles. Please use recommended spacing on box or in the product details.
- For Kilimanjaro tiles please use a minimum tile spacing of 8mm and above.
- When tiling large areas. Create expansion joints to allow for structural movement.
- This is done by using a flexible compound (such as silicone) between tiles.
- Expansion joints should be made every 9m2.
- The perimeter joint needs to be 5-8mm.

- Make sure all the joints are clean.
- Apply the grout using a rubber squeegee.
- Grouting should be done 24 hours after the installation of the tiles to allow, the tile to set properly.
- Once the grout has set the entire area must be cleaned, with a damp cloth, Grout Off and Easy Clean, Cleaning agents are recommended.
- Avoid walking on the tiles for 2-3 days to prevent loosening of the tiles.

Buy Online
Select your closest CTM
Sit Back
We Source & Pack Your Stock
Collect
We'll notify you when ready