Duna Genesis White Ultimate Spa Built-in Straight Bath - 1800 x 750mm


Duna Genesis White Ultimate Spa Built-in Straight Bath - 1800 x 750mm
![]()
Buy online with 4 interest-free payments.
-
 Confirm Stock Availability
 -
 When will I get it?
 -
 90 days hassle free returns
 -
 Buy online, collect in store
Buy Online and get next day delivery.
90% of online orders are delivered next day.
Click “Check Stock” and if available locally, buy online and we'll deliver the next day.
Buy Online and get 90 Day hassle free returns.
Experience no risk to you
Shop with assurance and peace of mind.
Enjoy easy return options at 74 stores nationwide.
Reserve your stock and collect instore.
Buy online to reserve your stock
Pay securely online & Collect from over 70 stores nationwide
Save time & skip the queue
Orders are normally ready within 3 hours.
Click 'Check Stock' to confirm store availability. Buy online, and we'll reserve it for collection.

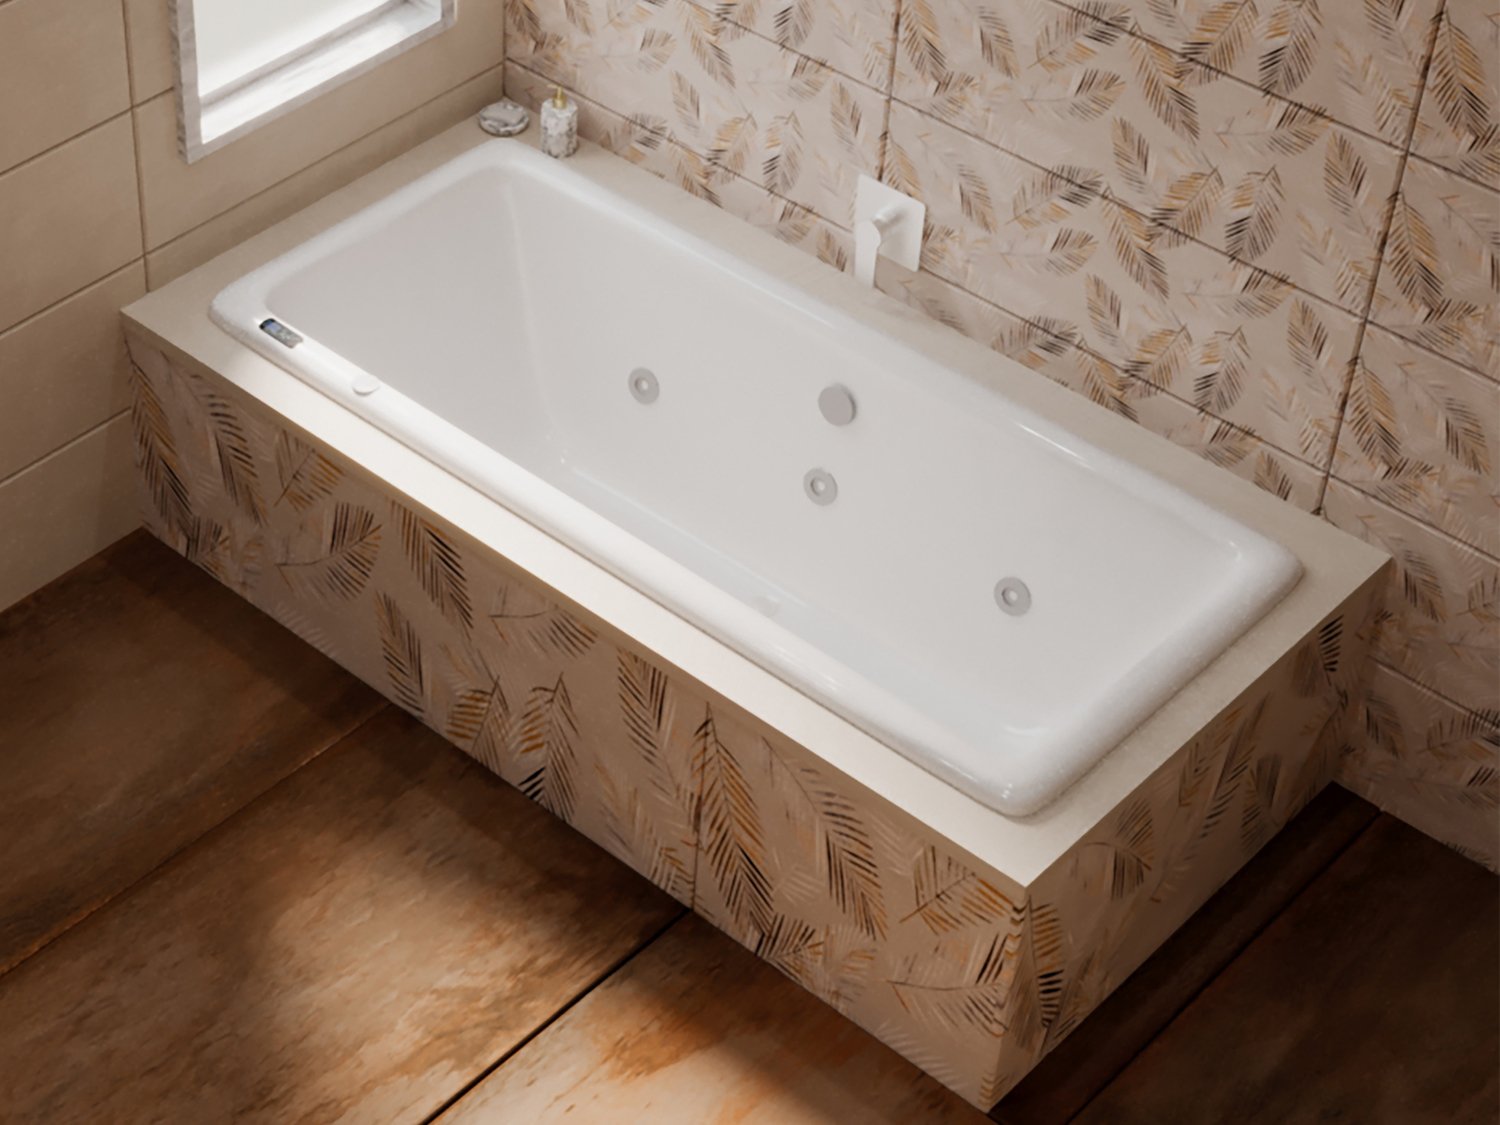
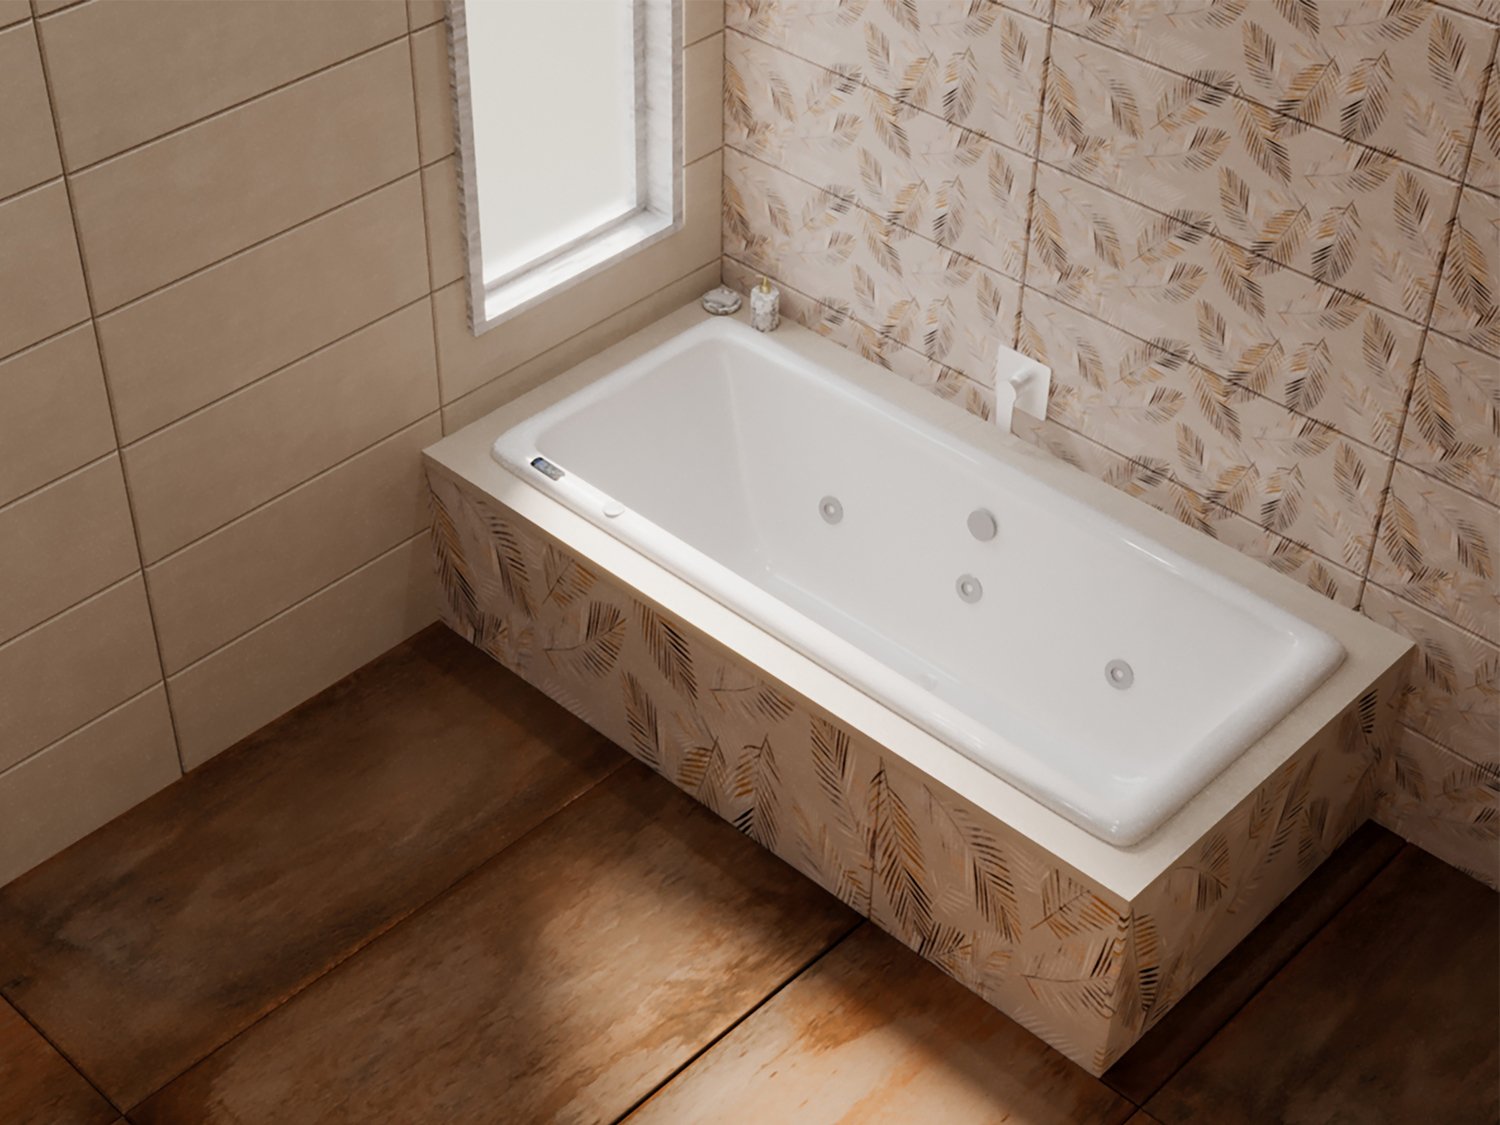
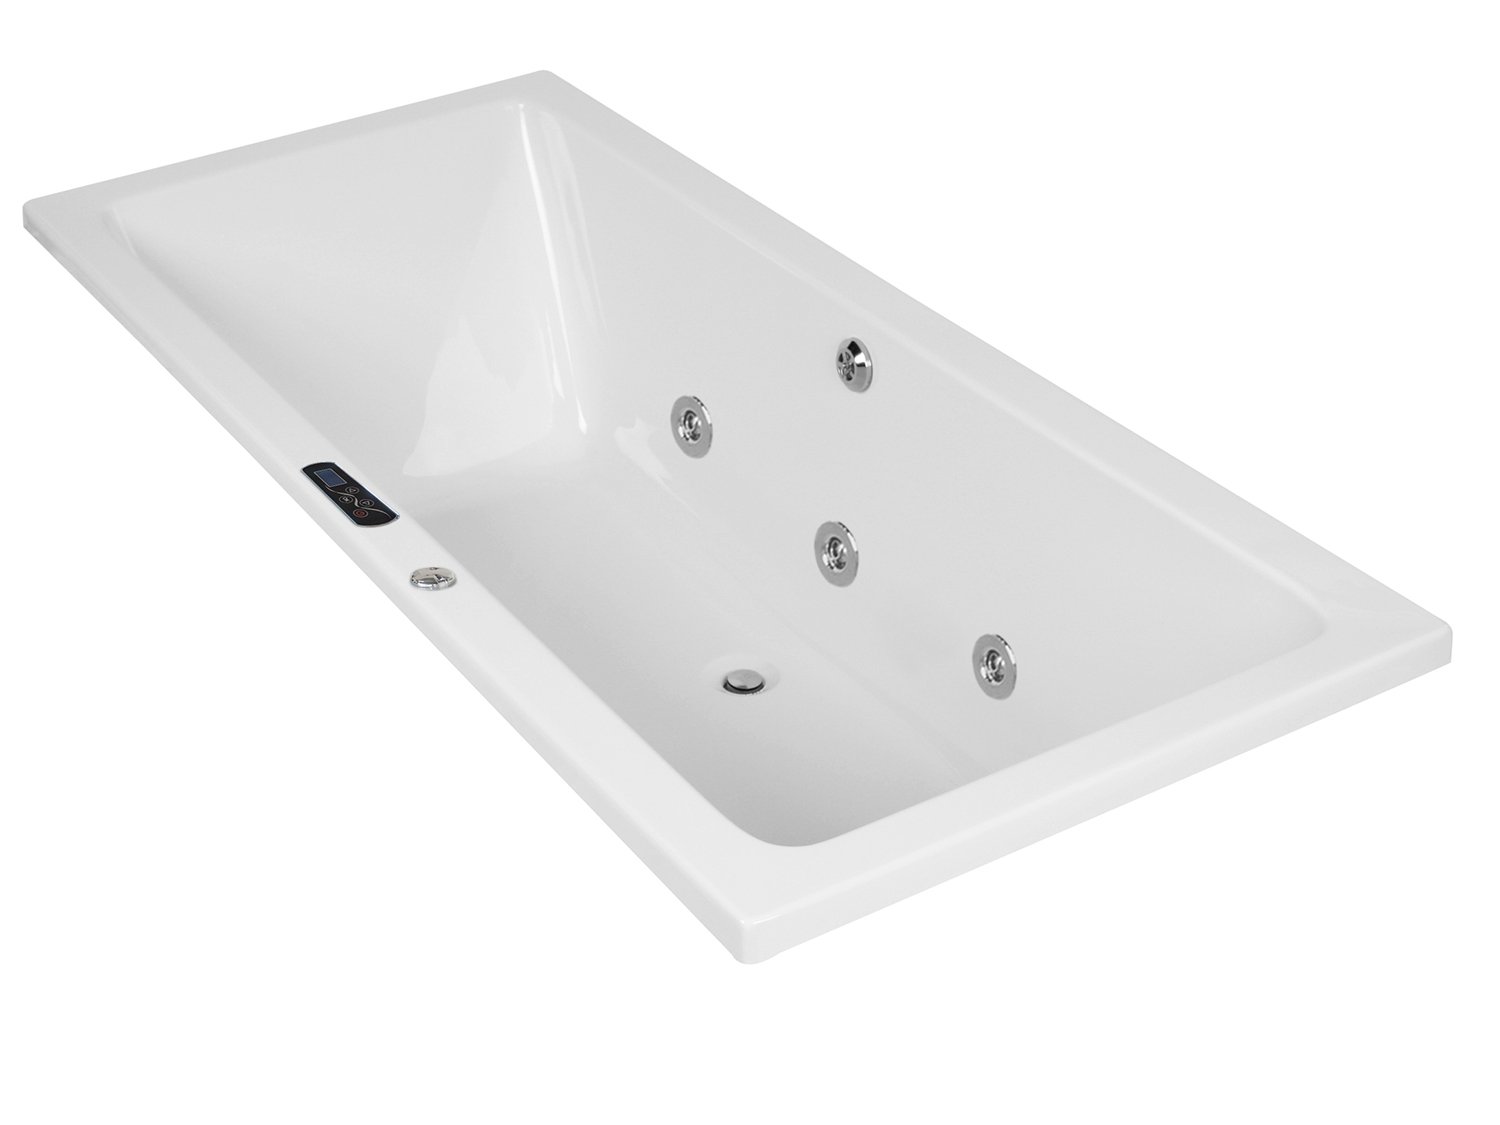
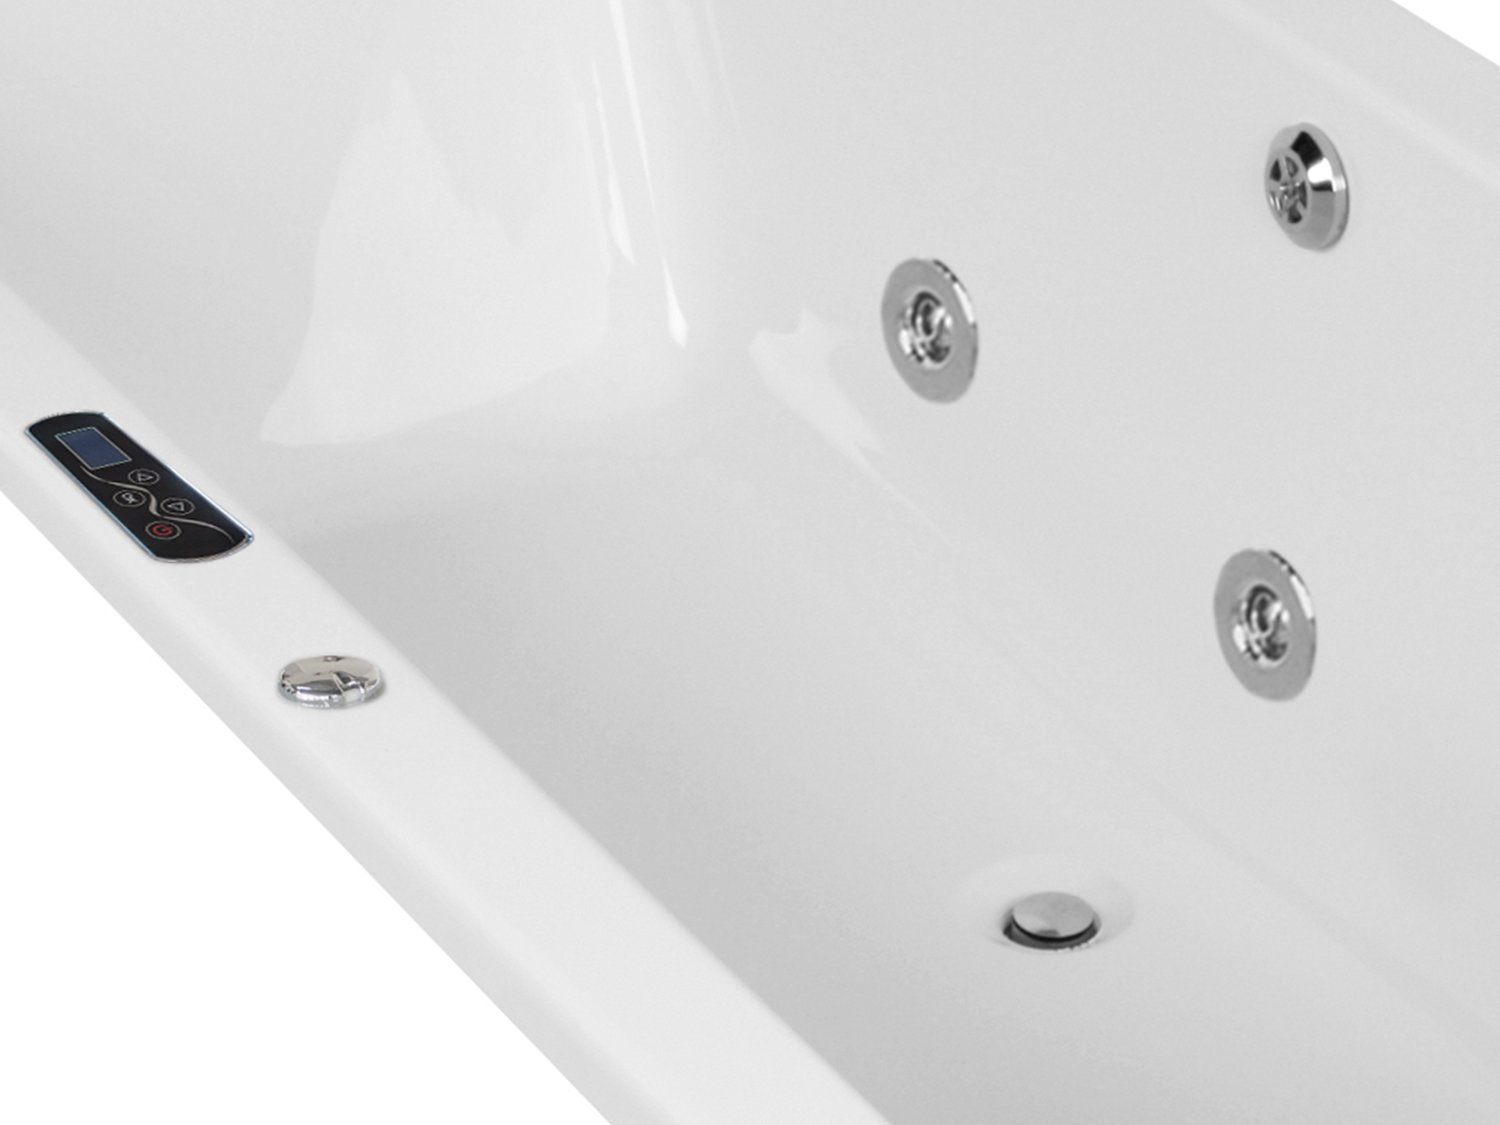
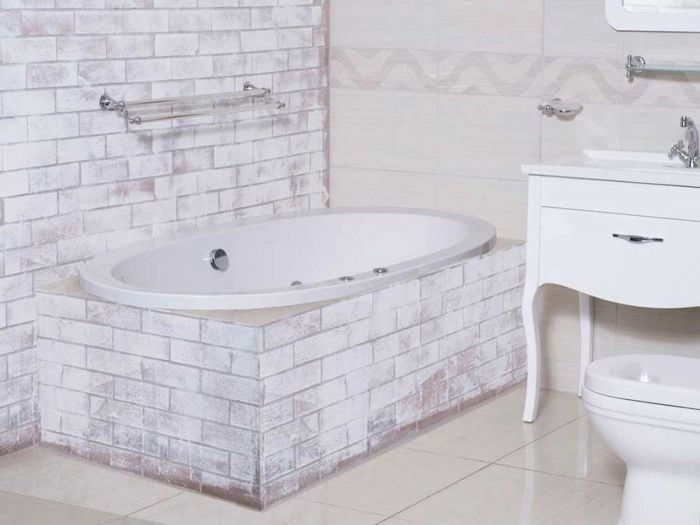
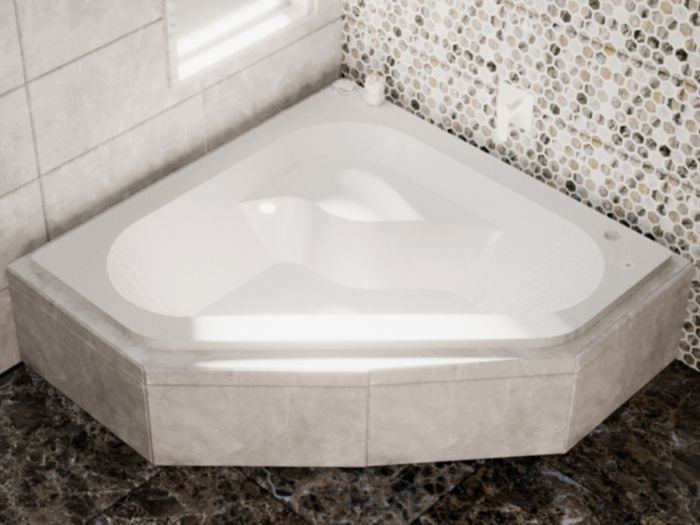
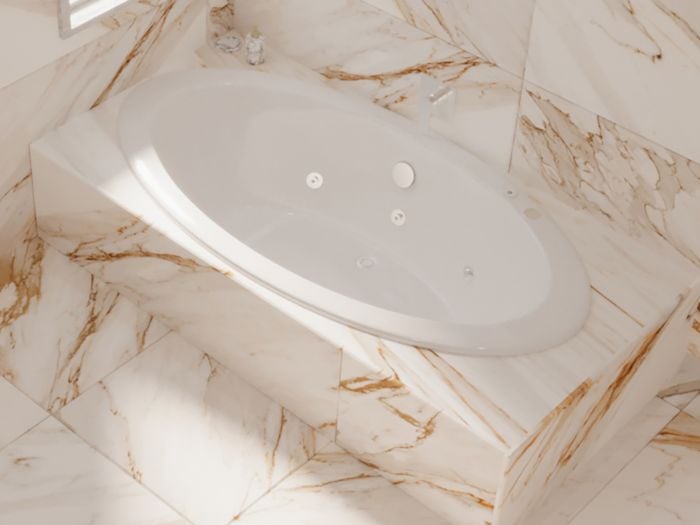
The Duna Genesis White Ultimate Spa Built-in Straight Bath features strong angled interior slopes which are broken by the simple rounded interior corners. This strong build bath favours straight lines over curves and elevates the style factor of any bathroom. The bath is also made from Perspex which is warm to the touch, making it a good insulator for heat.
Perfect for:
The sharp lines of the Duna Genesis White Ultimate Spa Built-in Straight Bath make it the perfect choice for your modern bathroom as its high gloss surface is smooth and luxurious, making it easy to clean.
Product Specifications
| Brand | CTM South Africa |
|---|---|
| Colour | White |
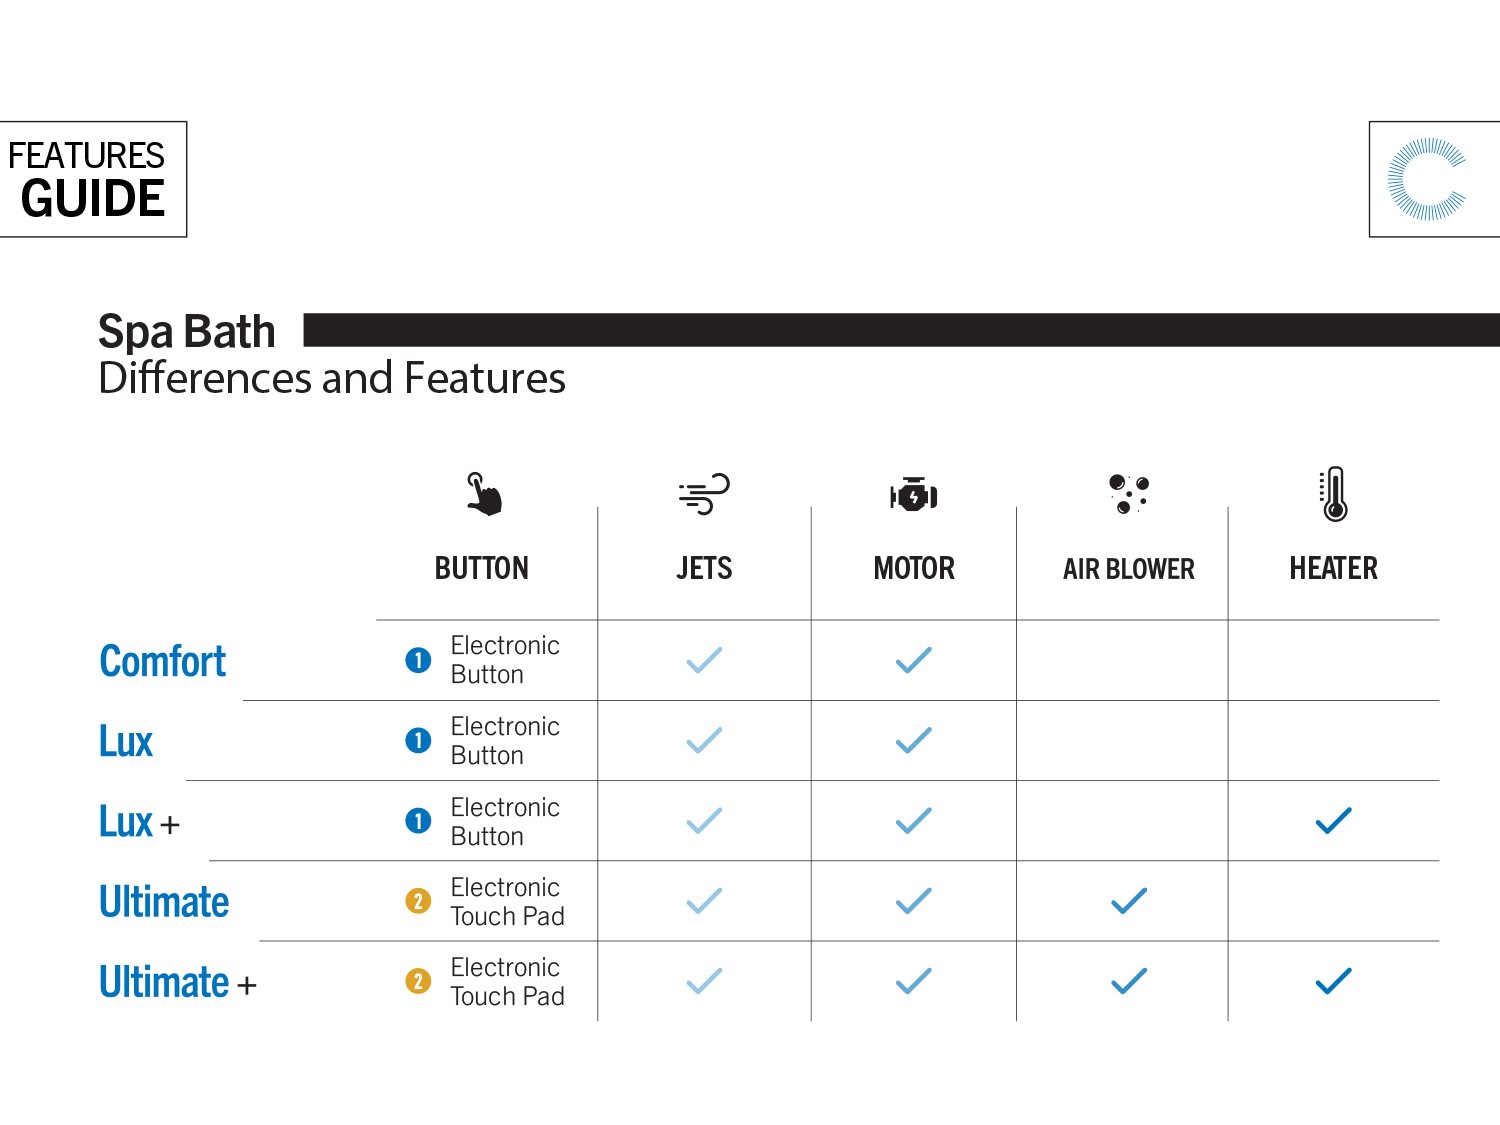
| Type | Spa Bath |
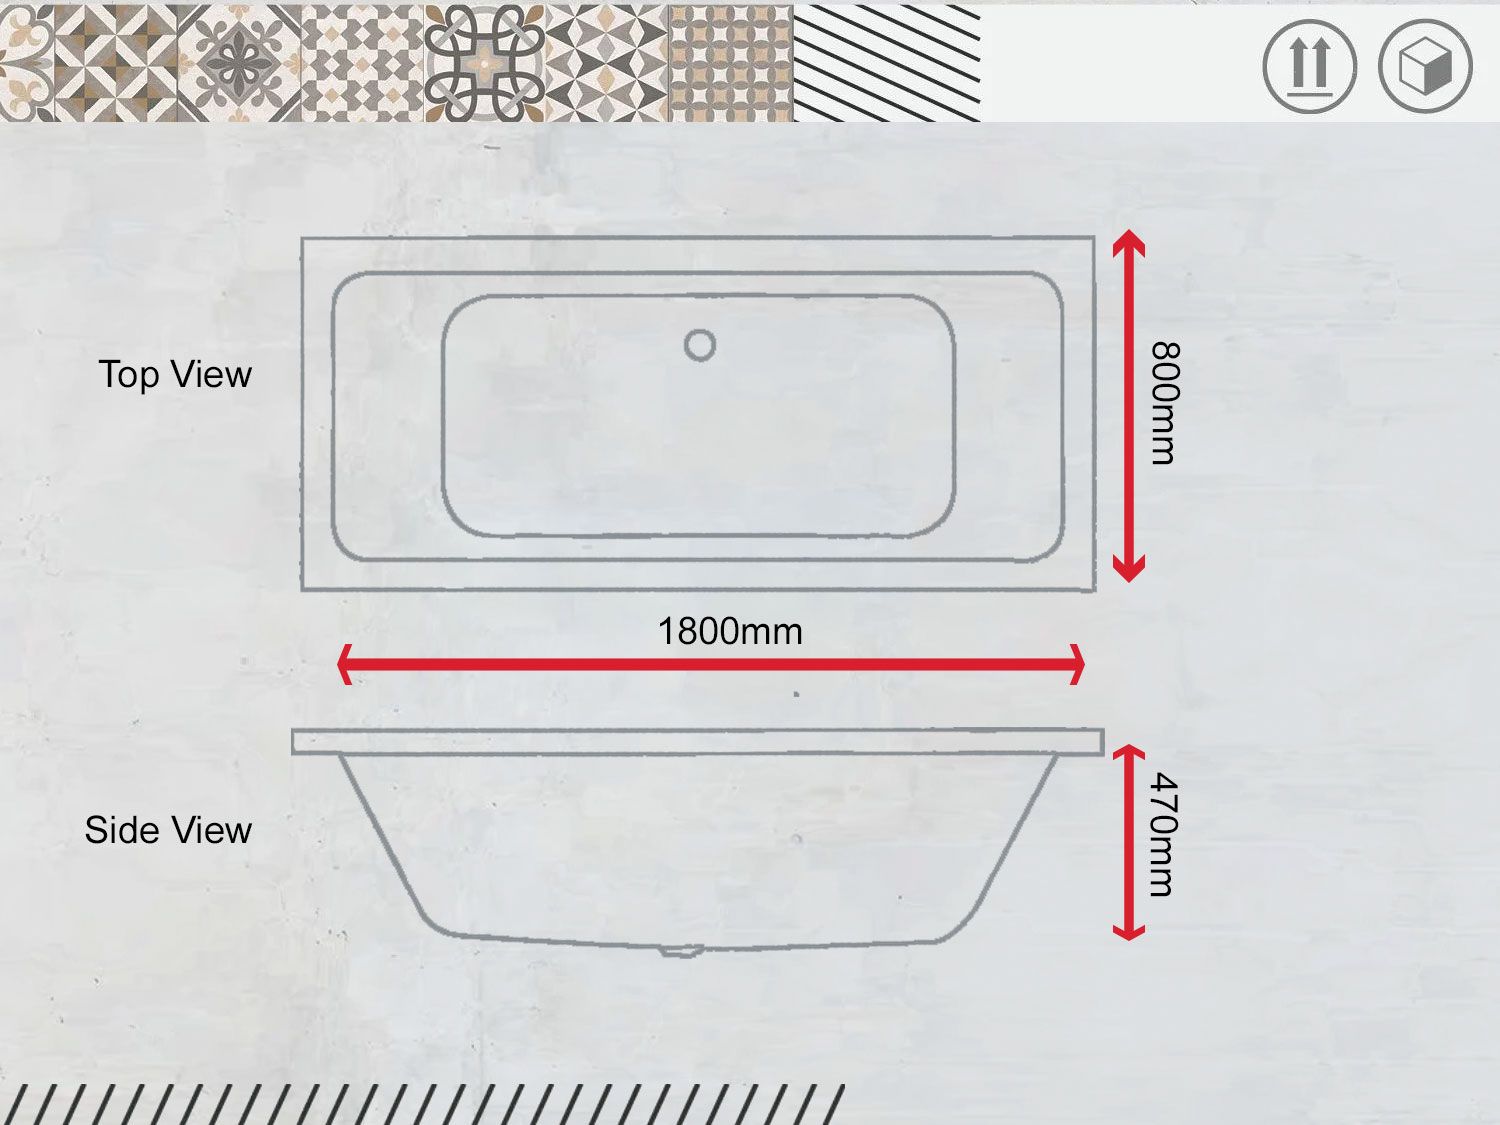
| Height (mm) | 480 mm |
| Length (mm) | 1800 mm |
| Width (mm) | 750 mm |
| Volume | 190 L |
| Waste Size | 52 mm |
| Overflow Size | 40 mm |
| Guarantee/Warranty | 10 Year Warranty |
| Product Weight | 24 kg |
Step 1.
- Decide how high you want the bath above the floor.
- Measure and mark up.
- It is recommended that it should be at least 450mm above the floor.
- Once you have marked the height, securely fasten support battens against the back and sidewall.
- Make sure they are level.

Step 2.
- Position the bath with the backside resting on the battens.
- Check that the bath is level by using your spirit level.

Step 3.
- Place three equally spaced rows of bricks, with ample mortar, under the reinforcing ribs of the bath.
- This will support the underside of the bath.
- Check that the first row is as close as possible to the waste fitting.
- Check that the openings and sides are now level with the ends of the battens.
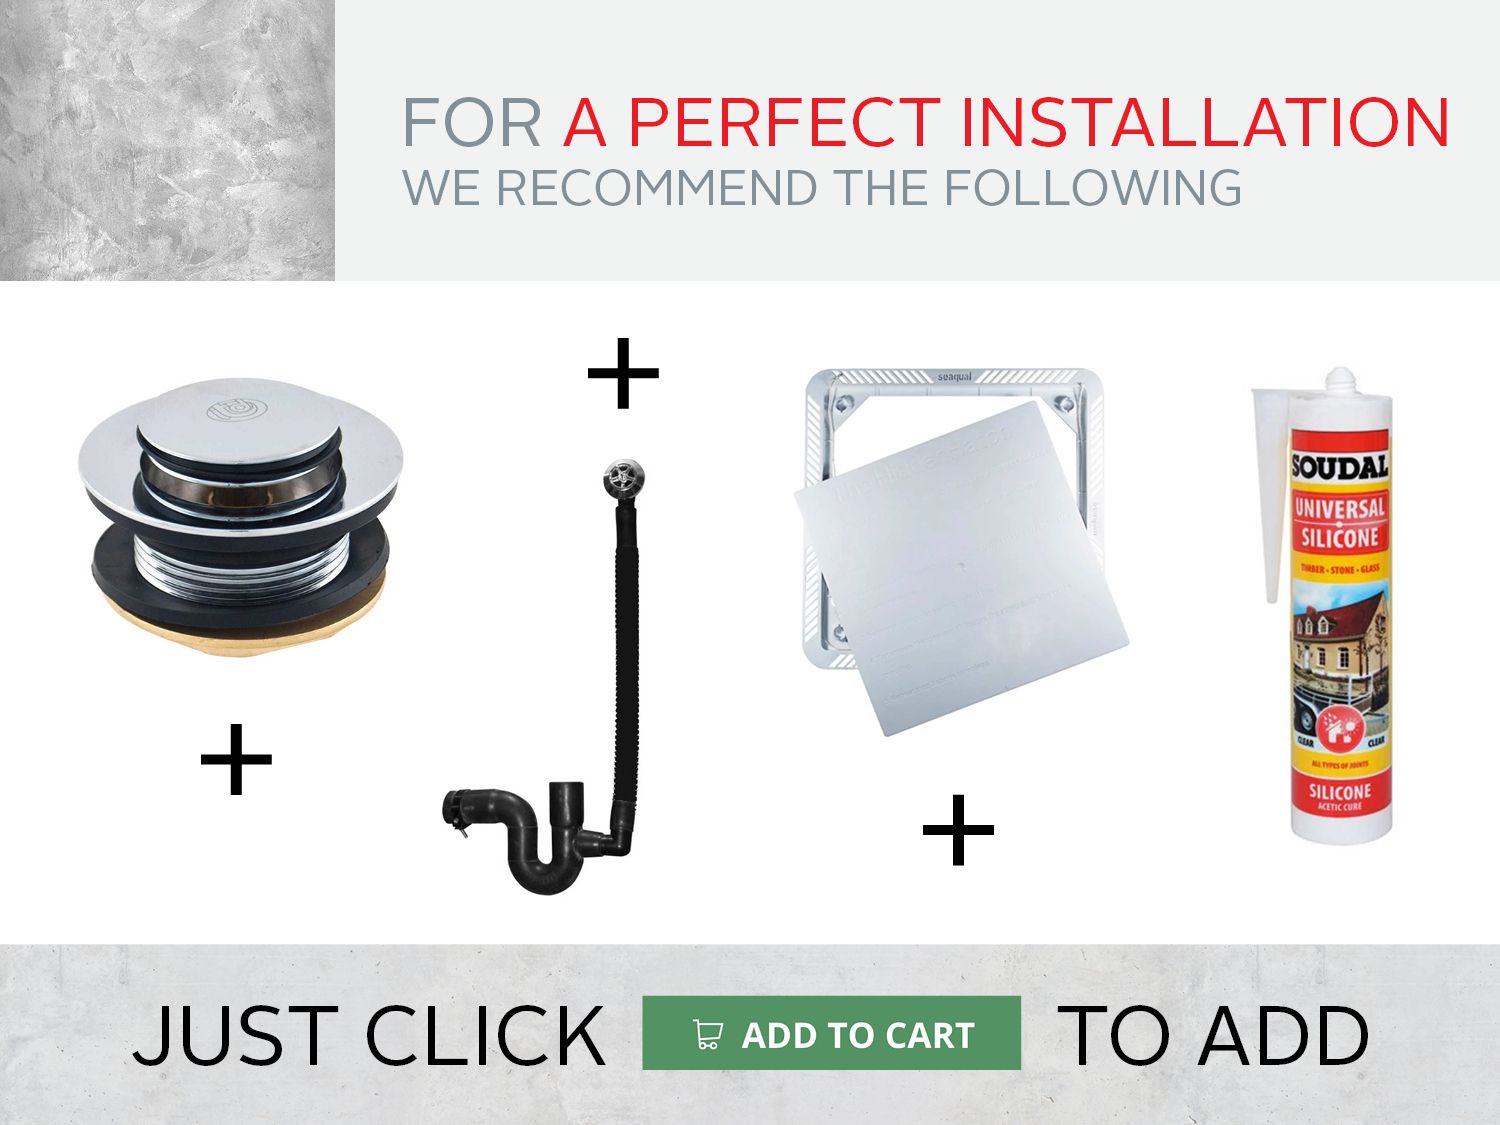
- Install taps and waste pipe and fittings, if you have not already done so.

Step 4.
- Finish the frame.
- The outside of the frame is often tiled to create a cohesive bathroom design.
- Make sure to leave an access area if you are installing a whirlpool tub (for future repairs).
- You can finish the frame with any materials that work with your interior design.

Buy Online
Select your closest CTM
Sit Back
We Source & Pack Your Stock
Collect
We'll notify you when ready