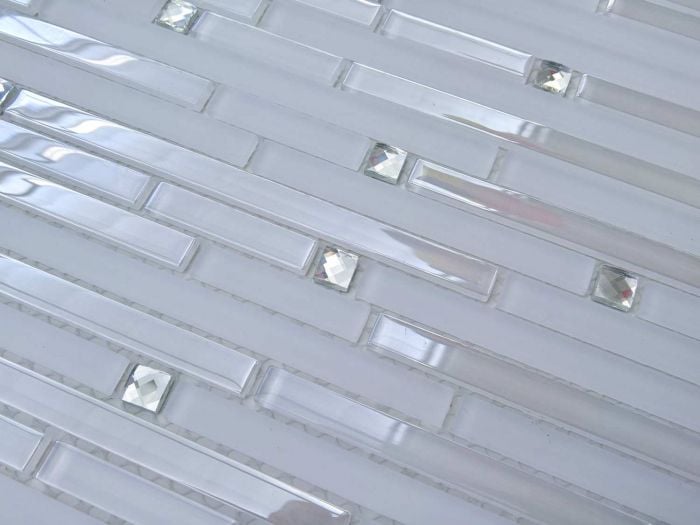
Arabescato White Glass Mosaic - 300 x 300mm

Arabescato White Glass Mosaic - 300 x 300mm
![]()
Buy online with 4 interest-free payments.
-
 Confirm Stock Availability
 -
 When will I get it?
 -
 90 days hassle free returns
 -
 Buy online, collect in store
Buy Online and get next day delivery.
90% of online orders are delivered next day.
Click “Check Stock” and if available locally, buy online and we'll deliver the next day.
Buy Online and get 90 Day hassle free returns.
Experience no risk to you
Shop with assurance and peace of mind.
Enjoy easy return options at 74 stores nationwide.
Reserve your stock and collect instore.
Buy online to reserve your stock
Pay securely online & Collect from over 70 stores nationwide
Save time & skip the queue
Orders are normally ready within 3 hours.
Click 'Check Stock' to confirm store availability. Buy online, and we'll reserve it for collection.

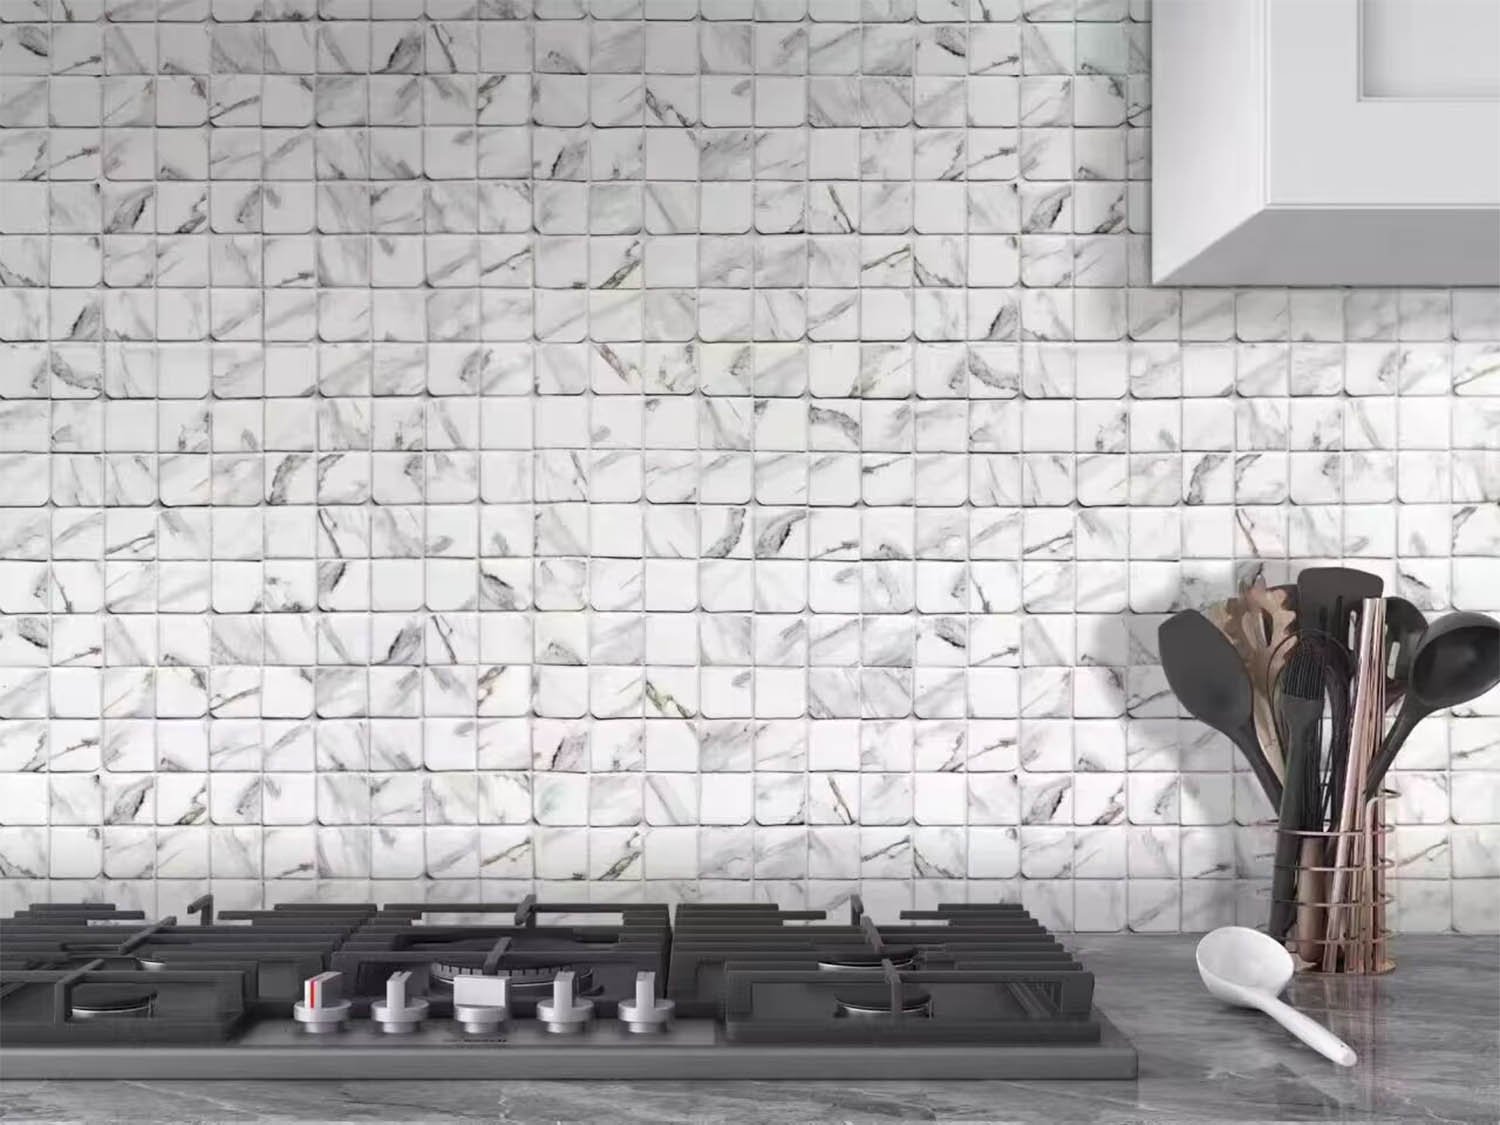
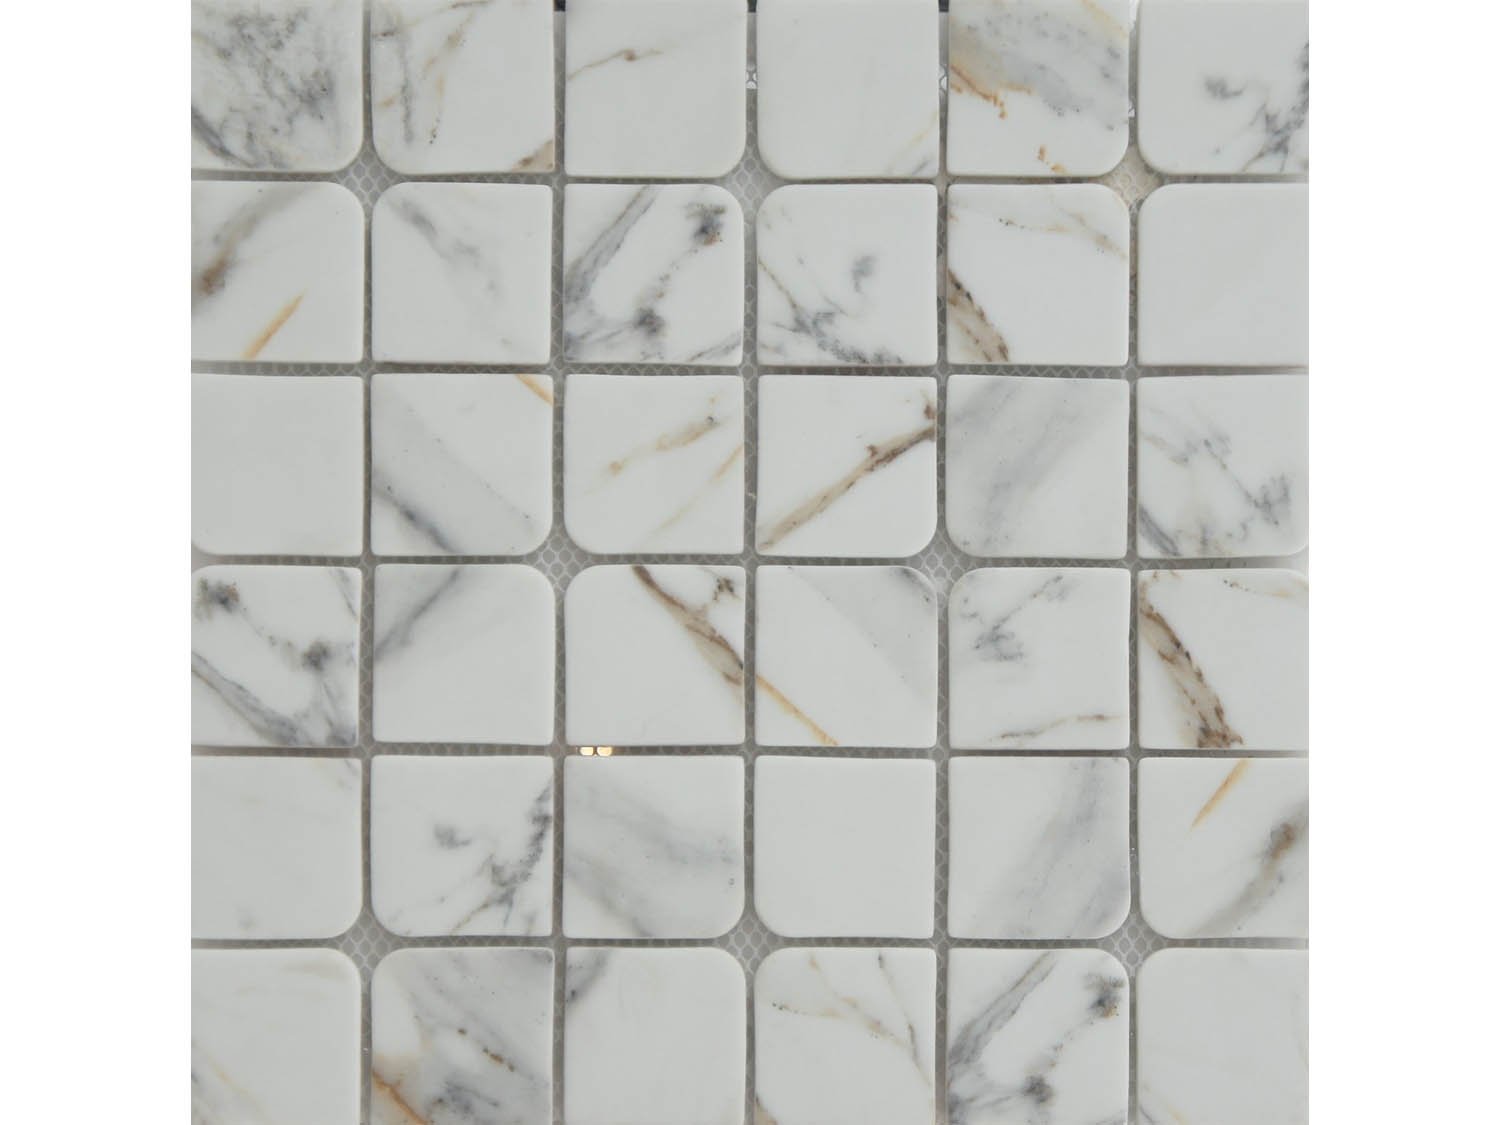
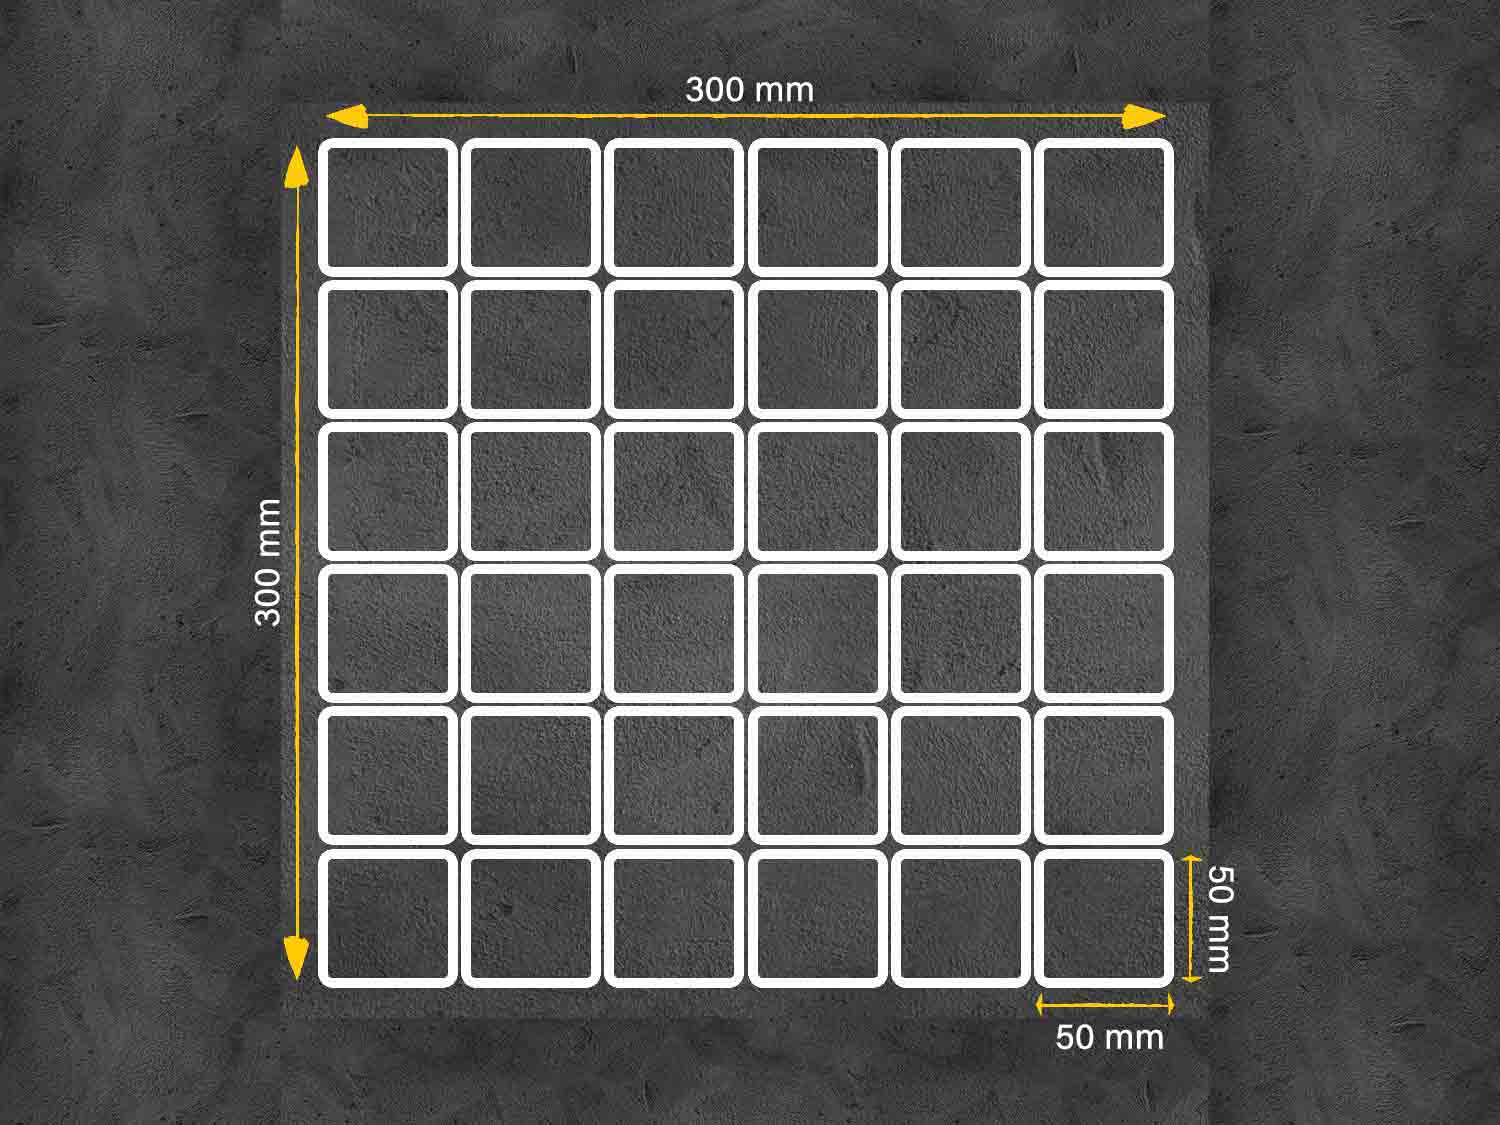
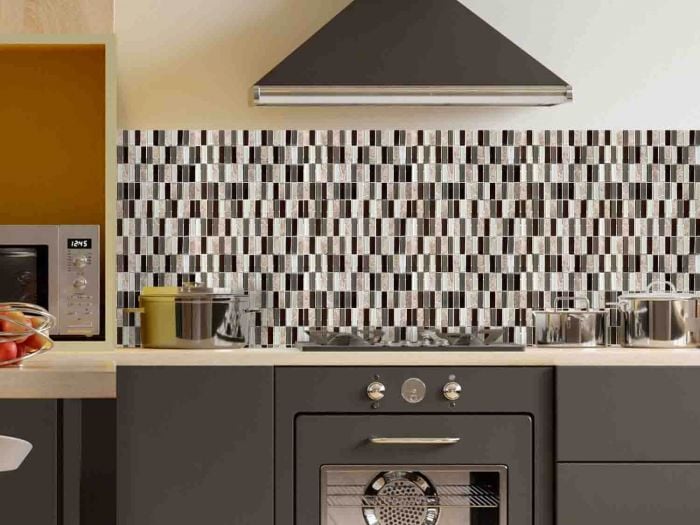
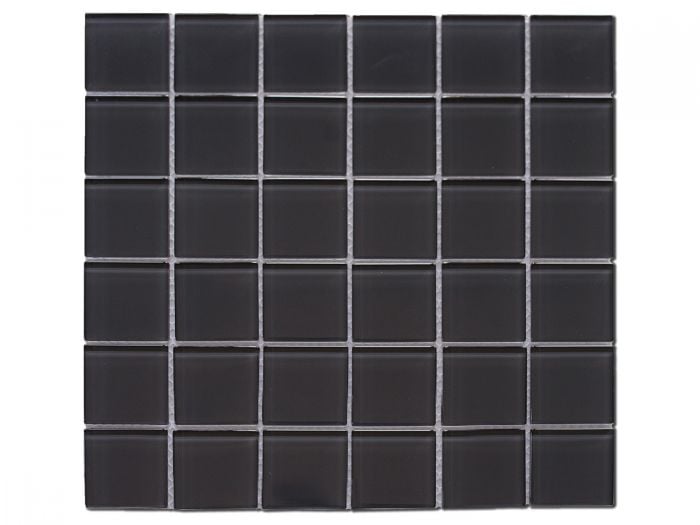
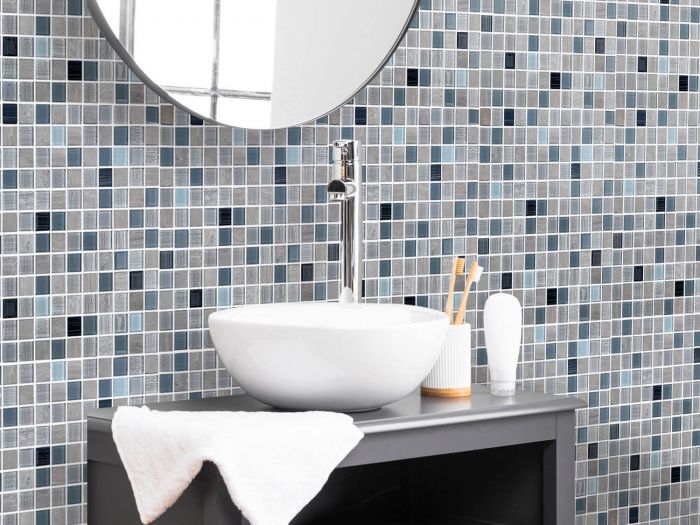
Arabescato White Glass Mosaic is a stunning option for a variety of wall and flooring applications. These tiles typically come in a 300 x 300mm size and feature a beautiful white base with elegant grey veining throughout the tile, creating a stunning marble-like appearance.
The reflective surface of the glass tiles can also help to brighten up a room by reflecting light and making the space appear larger. The smooth surface of glass tiles also makes them easy to clean and maintain, ensuring they look their best for years to come.
Glass tiles are known for their durability and resistance to water, making them a popular choice for use in bathrooms, kitchens and feature walls. The thickness of the tiles is also an important consideration when selecting Arabescato White Glass Mosaic, as thicker tiles may be more durable but can also be more challenging to cut and install.
It's important to choose a high-quality adhesive when installing Arabescato White Glass Mosaic tiles to ensure that the tiles are securely attached to the wall. Additionally, using a grout that complements the color of the tiles can enhance the beauty of the design.
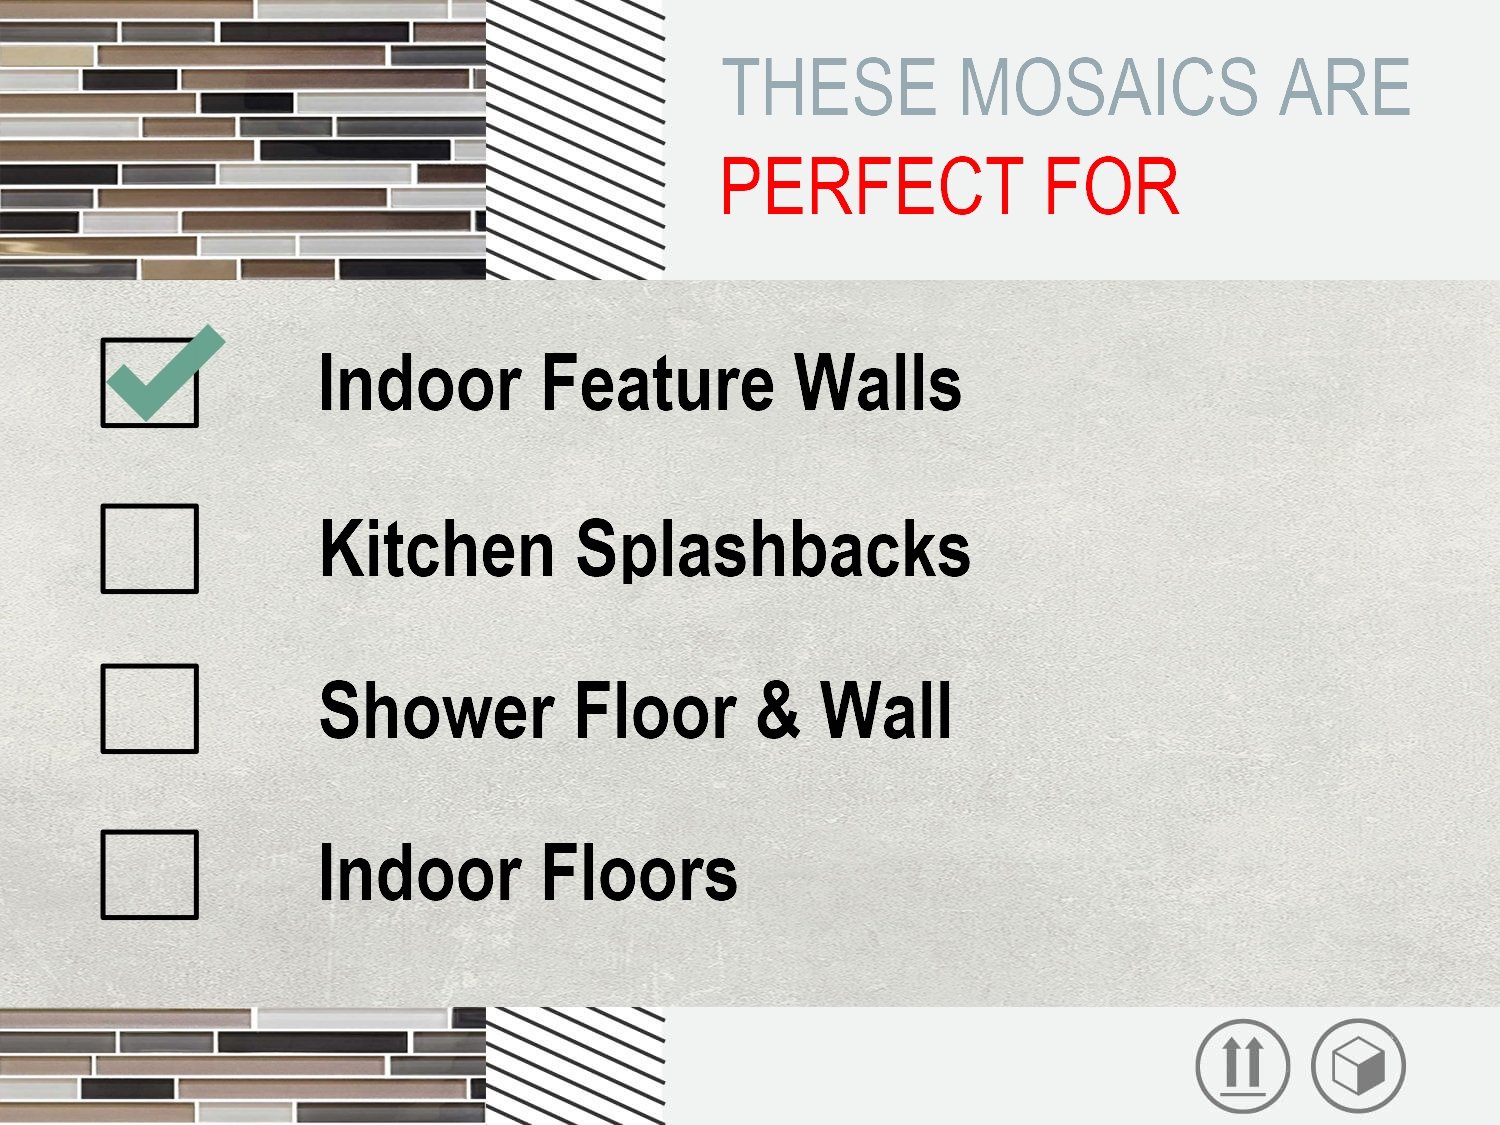
Perfect for:
Overall, Arabescato White Glass Mosaic tiles offer a stylish and modern solution for a variety of wall applications, providing durability and elegance in any space.
Product Specifications
| Brand | CTM South Africa |
|---|---|
| Tile Type | Glass |
| Height (mm) | 5 mm |
| Length (mm) | 300 mm |
| Width (mm) | 300 mm |
| Finish / Texture | Shiny |
| Colour | White |
| Type | Mosaics |


Buy Online
Select your closest CTM
Sit Back
We Source & Pack Your Stock
Collect
We'll notify you when ready